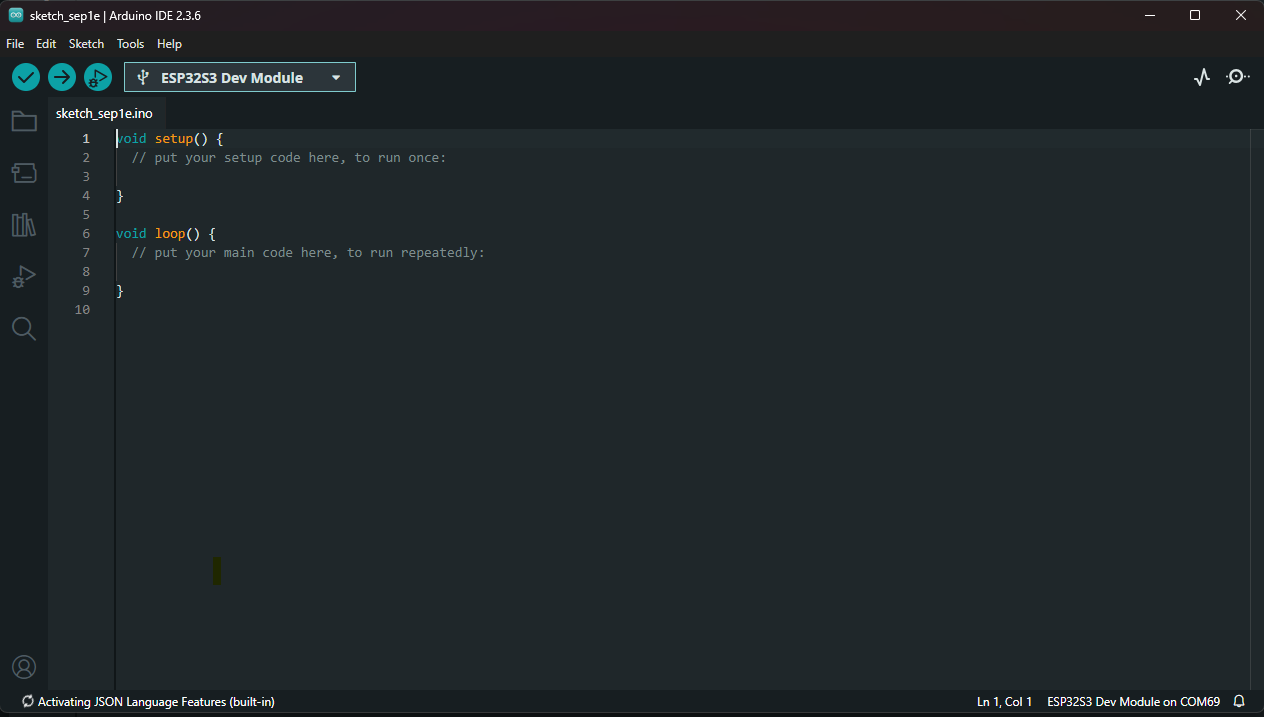
7Semi Logo ✅ Available in Arduino Library Manager

7Semi Libraries are available in the Arduino Library Manager

Install official 7Semi libraries directly from the Arduino IDE in a few clicks. Follow the steps below and start building immediately.

Start the guide
1 STEP ONE

Open Arduino IDE

Launch the Arduino IDE on your computer.

Arduino IDE window
Click the image to view full size.
Open full-resolution  · Download
2 STEP TWO

Open Library Manager

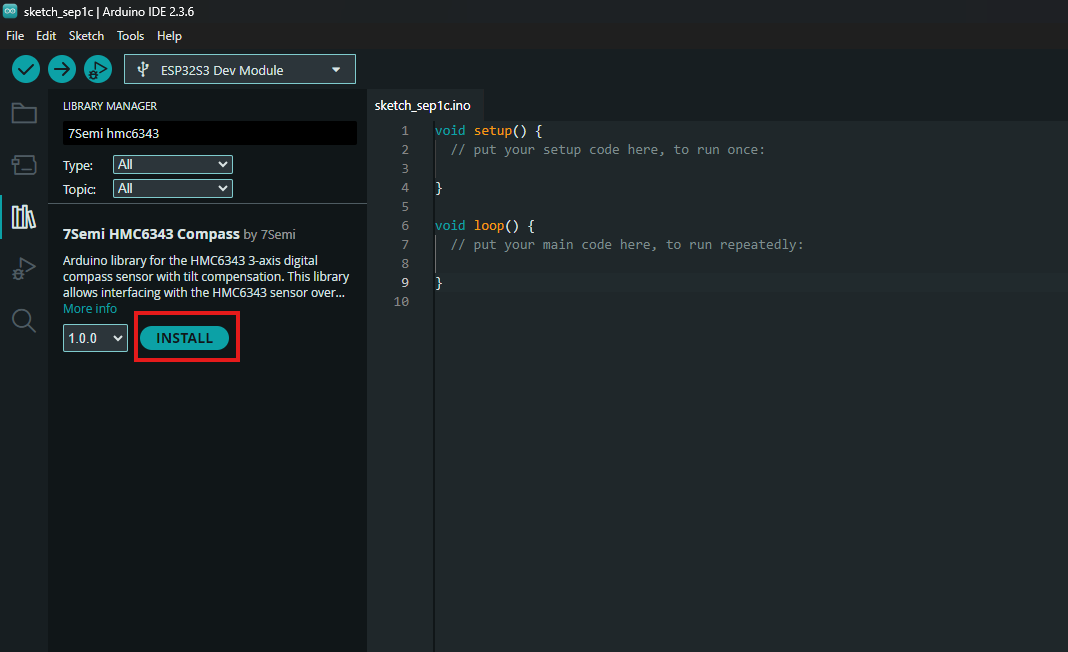
From the toolbar or via Sketch → Include Library → Manage Libraries…
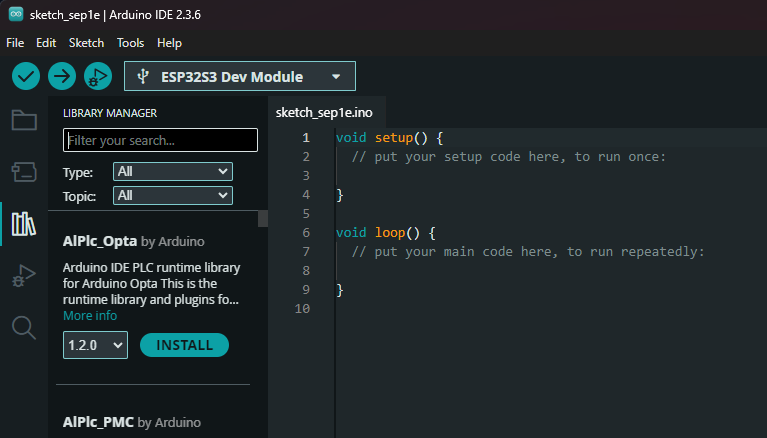
Arduino IDE Library Manager
Open Manage Libraries… to browse official libraries.
Open full-resolution  · Download
3 STEP THREE

Search for 7Semi

Type 7Semi in the search field to find the official libraries.

Search 7Semi libraries
Results will list the available 7Semi libraries.
Open full-resolution  · Download
4 STEP FOUR

Click Install

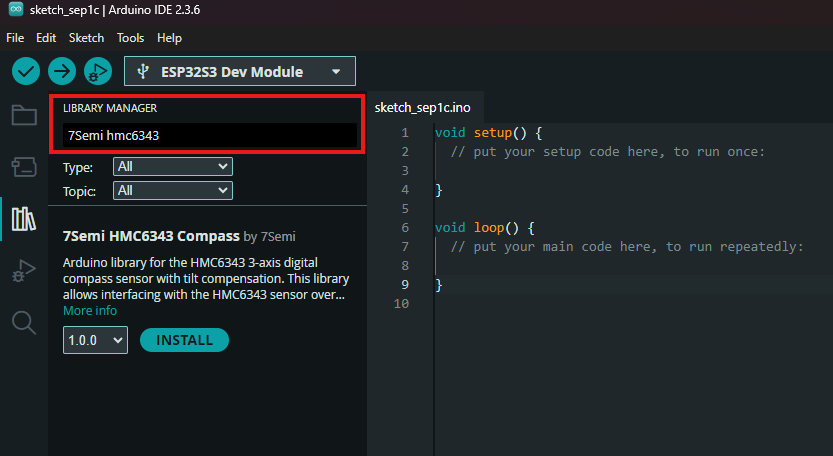
Select the required 7Semi library and click Install. The IDE will fetch and add it to your setup.

Install button in Library Manager
Click Install to add the library.
Open full-resolution  · Download
5 STEP FIVE

Open Examples

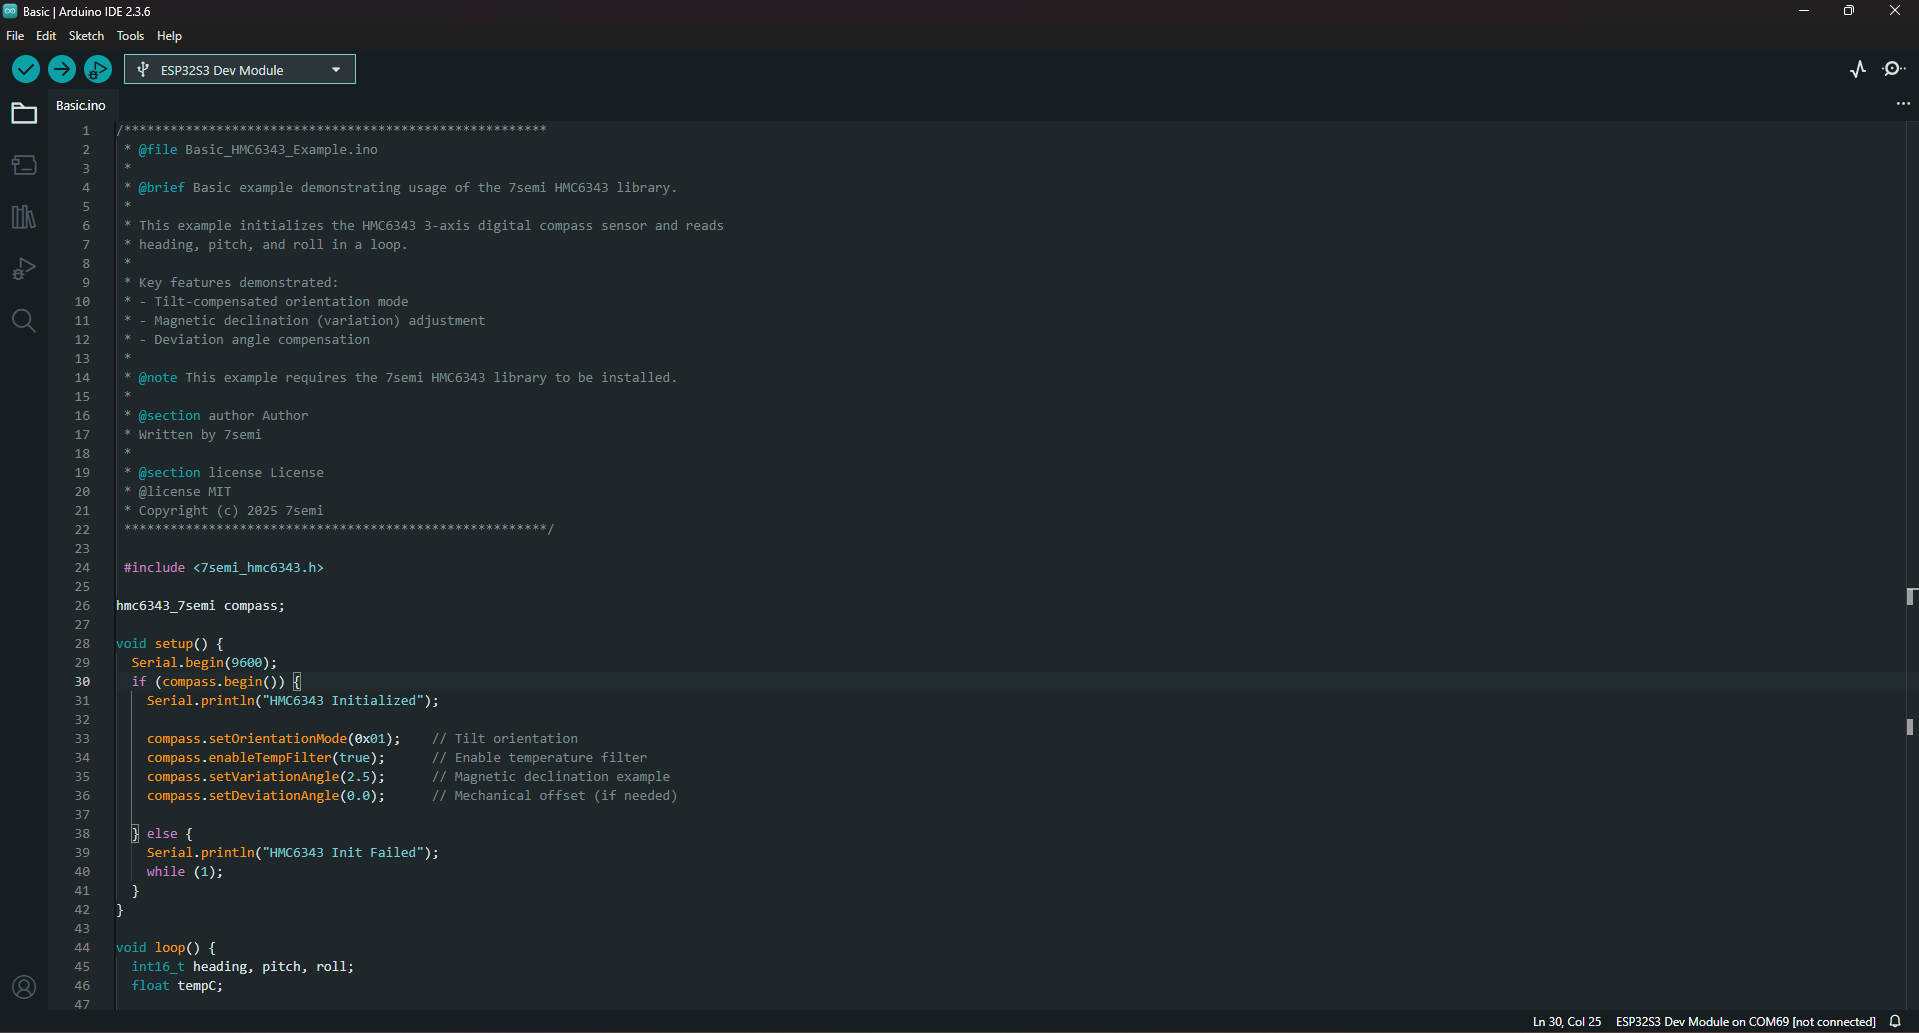
Go to File → Examples to browse example sketches from installed libraries.

Arduino File menu showing Examples
Examples from custom libraries appear in this menu.
Open full-resolution  · Download
6 STEP SIX

Choose your 7Semi library

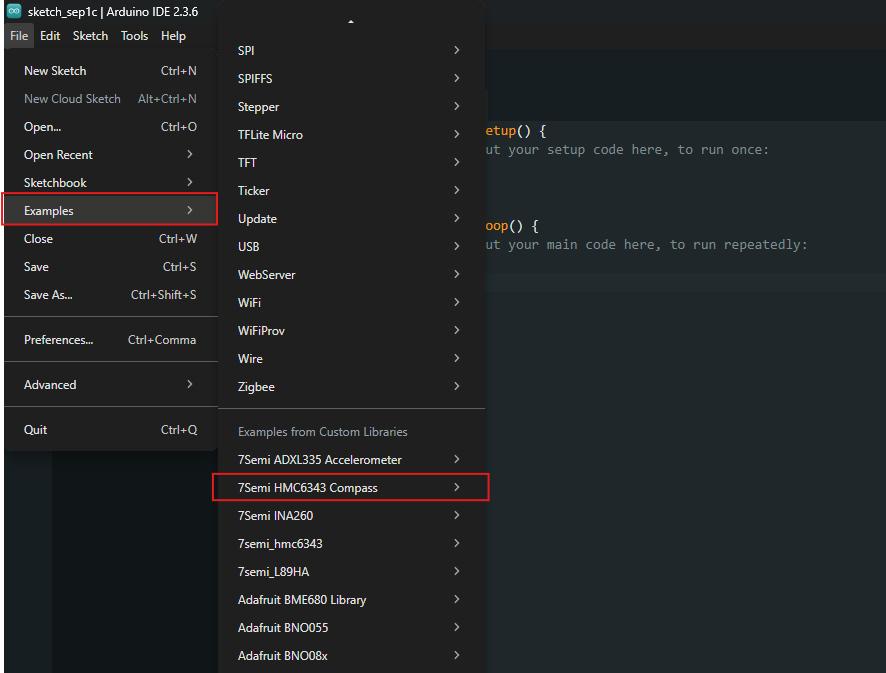
Select the 7Semi library you installed to see its ready-to-run examples.

Choosing a 7Semi library in Examples
Pick the library to view its example sketches.
Open full-resolution  · Download
7 STEP SEVEN

Open an example sketch

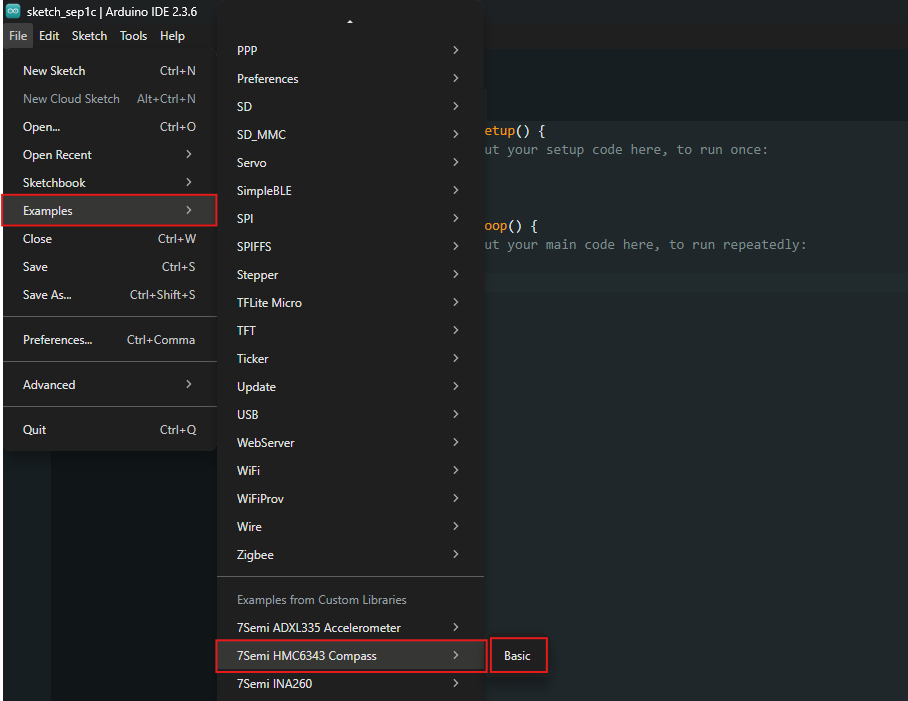
The example opens in the editor. Click Verify ▶ Upload to try it on your board.

Example sketch open in Arduino IDE
Use Verify and then Upload to flash your board.
Open full-resolution  · Download